How to Replace the Webbing in a TRUBLUE iQ or iQ+ Auto Belay
How to Replace the Webbing in a TRUBLUE iQ or iQ+ Auto Belay
Once you know the process, replacing the webbing on your TRUBLUE iQ or iQ+ Auto Belay is quick and easy. TRUBLUE iQ webbing is field replaceable, meaning that you do not have to wait until your next annual service appointment to change out the webbing. You can do it yourself! The process does not require any technical skills and only takes a couple of minutes.
If your webbing is showing signs of wear, simply order a TRUBLUE iQ Replacement Webbing and then follow the steps laid out below. Here’s what you are going to need:
Allen key
Shackle pin
TRUBLUE iQ Replacement Webbing
All of these items are included in your webbing replacement kit. You may also want a flathead screwdriver.
WHEN TO REPLACE THE WEBBING ON YOUR TRUBLUE iQ AUTO BELAY
Daily webbing inspections are required for all TRUBLUE iQ Auto Belays. To help you to evaluate when your webbing wear is acceptable and when a replacement webbing is required, refer to the Wear Tables below. Refer to the TRUBLUE iQ Operator Manual for further information regarding webbing wear.
We strongly recommend replacing your webbing after 1.5 years of usage, regardless of wear. The date of manufacture of the webbing is located on the webbing tag inside the device near the shackle. When you first receive your replacement webbing, make sure to record this date in your inspection log. Continued use of webbing with wear at or beyond the designated stage of wear below could result in serious injury or death.
Wear Tables
Webbing pictures outlined in red in the tables below show webbing that MUST be taken out of service and replaced immediately to continue using your TRUBLUE iQ.
TROUBLESHOOTING WEBBING WEAR
Symptoms
Potential Causes
Potential Solutions
BUMPER
STITCH
DEPLOYED
Unit mounted low
Mount the unit higher or develop routes that minimize the impact of the bumper stitch on the Nozzle at the finish of the climb.
Normal use of the TRUBLUE iQ
The bumper stitch is designed to absorb impacts with the Nozzle. Over time,
these impacts will bend the webbing and
slowly pull out the stitches. Trim any loose threads. If the bumper stitch is completely unraveled, the webbing assembly must be replaced.
WEBBING
FACE WEAR
SIDE WEAR
LOOP
FAILURE
& HAND GRIP WEAR
Webbing is rubbing on the wall (overhang or corner
of wall)
Move the TRUBLUE iQ so the webbing does not rub on the wall/corner.
Webbing is rubbing on a hold
Look for problem holds. Move the hold. Do not place large holds immediately below TRUBLUE iQ.
Foreign objects, including dirt and/or dust have intro-
duced damage to webbing
assembly
Make sure to cover the TRUBLUE iQ when not in use. Wipe the webbing with a dry cloth daily, after use.
Normal use of TRUBLUE iQ
Parts and webbing wear over time with normal operation, replace webbing as necessary.
BAR TACK DAMAGED
Climbers are rubbing the bartack on holds or the
wall
Monitor routes with the TRUBLUE iQ to minimize contact with holds or wall features while climbing.
UV FADED WEBBING
Sun is damaging webbing
Remove TRUBLUE iQ at the end of day or cover unit and webbing after use. Allow webbing to retract into the device when not in use.
HAND GRIP WEAR
Hand grip is rubbing against wall/holds
Look for problem holds. Move the hold.
Normal use of TRUBLUE iQ
Parts and webbing wear over time with normal operation, replace webbing as necessary.
WEBBING IS
MOLDY/
DISCOLORED
Webbing is not being dried after being used in wet conditions
Whenever using the TRUBLUE iQ in wet conditions, take the unit down at the end
of the day, extend the webbing in a sanitary environment, and allow webbing to dry outside of the unit.
WEBBING REPLACEMENT PROCEDURE
1. Remove the Auto Belay from service.
2. Remove the Nozzle assembly
Place the Auto Belay unit with the flat plastic cover side down taking care not to damage the plastic side covers - Ensure it is secure and cannot fall.
Pull out the Nozzle Pin.
Pull out all the webbing. The short webbing assembly will push the two Nozzle halves out. Twist the webbing 90 degrees and pin the webbing.
Slightly twist each Nozzle halve to release from the housing tab slot.
3. While holding Auto Belay securely, pull out the webbing line until the end of the short webbing loop and the joining shackle are exposed.
4. Locate the loop in the short webbing loop, approx. 150 mm (6 in) past the shackle. Twist webbing 90 degrees and place the Nozzle Assembly pin through the loop in the short webbing loop to prevent it retracting back inside the casing.
5. Unscrew the shackle pin.
6. Remove webbing and shackle pin from the short webbing loop.
7. Ensure the loop part of the shackle is fitted to the short webbing loop.
THREAD LOCKING COMPOUND
Ensure the factory applied thread locking compound is present on the shackle pin threads. Do not reuse the Shackle Pin.
WARNING
The TRUBLUE iQ can only use TRUBLUE iQ webbing. Do not use original TRUBLUE webbing, or any webbing from any other manufacture. Incompatible webbing may result in severe injury or death if used. The TRUBLUE iQ webbing has a white yarn down the center and is sold by authorized Head Rush Technologies locations.
8. Fit the new webbing line, passing the threaded shackle pin through the loop as shown below.
8. Tighten the shackle pin to hand tight, ensuring the threads are fully engaged and the end of the pin is flush with the joining shackle as shown.
9. Remove the holding pin, untwist the webbing 90 degrees, and allow the new line to slowly retract until short webbing loop and joining link is inside casing. Ensuring that the webbing line does not twist.
Once shackle pin is tightened, it must not be loosened or re-tightened. This will break the locking compound and the shackle pin may become loose. The shackle pin must be replaced if this happens.
Ensure that the webbing line feeds squarely and without twists when retracting back into the auto belay.
Failure to do so may result in equipment failure, serious injury or death to participants.
11. Refit Nozzle assembly.
Refit the lower half of the Nozzle assembly into the recess on the casing.
Fit the upper half of the Nozzle assembly.
Remove the pin and untwist the webbing 90 degrees. Allow the webbing to slowly retract, and push the two Nozzle halves closed. Retract the webbing back into the device, tugging on the webbing every 1-2 meters to properly seat the webbing.
Replace the pin through both Nozzle halves.
Check Auto Belay for correct operation.
12. Slowly retract the webbing line into the casing, checking the action is smooth and adequate spring resistance is felt. Sharply tug on the webbing every 1-2m to cinch down the webbing onto the stack.
13. Once line is fully retracted, pull out line a short distance using reasonable force and allow it to retract. Repeat two to three times to ensure line is firmly wound onto the drum.
14. Return Auto Belay to service and check for correct retraction and descent.
That's it!The new webbing is installed and your TRUBLUEiQ is ready for climbers.
You Might Also Like
Free Fall Product Comparison
When it comes to free fall devices, we have three models to help you customize your free fall experience: the QuickFlight, the QuickFlight XL, and the Flightline.
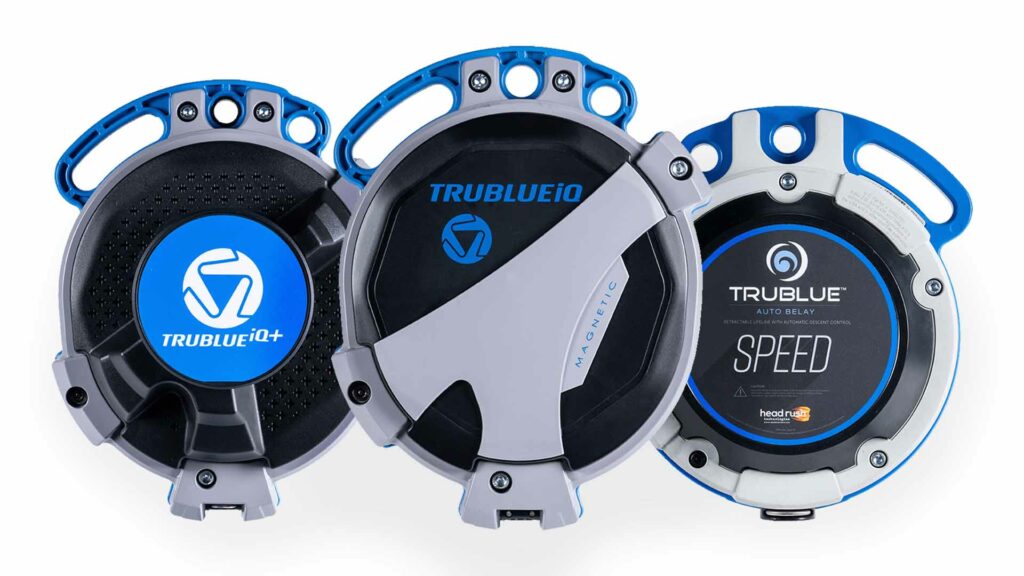
We engineer and manufacture three different models of auto belays for climbing facilities to choose from: the TRUBLUE iQ, the TRUBLUE iQ+, and the TRUBLUE SPEED. All three TRUBLUEs come with our patented magnetic braking technology and are certified for a user weight between 22 – 309 pounds.
A remarkable amount of planning, design, and creativity that goes into building a modern commercial zip line course. These are just a few of the trends that we see in modern zip lining.
 English